In this article, I’ll show you how to start working with Smart Objects in Photoshop.
Understanding Smart Objects in Photoshop
Photoshop Layers are great. They allow you to edit your photos without destroying the original. Smart Objects take the concept of nondestructive editing even further. They enable you to make changes without losing quality. There are tons of possibilities when you decide to use Smart Objects in Photoshop. Here are a few important advantages of Smart Objects.
Resize and Transform
You can transform Smart Objects without losing the original data or image quality. The transformations only affect the Smart Object but not the original image behind it.
Nondestructive Filters
You can apply filters to Smart Objects and edit them at any time. With regular filters, you would have to undo and reapply them if you want to make changes.
Vectors
You can import or copy/paste vector artwork from Illustrator in Photoshop without rasterising it. This means you can keep using the artworks as vectors in Photoshop.
Limits of Smart Objects
What you can’t do, is alter the pixel data. This means that you can’t dodge, burn, or clone for example. You can however edit the image behind the Smart Object if you’d like.
How to Use Smart Objects in Photoshop
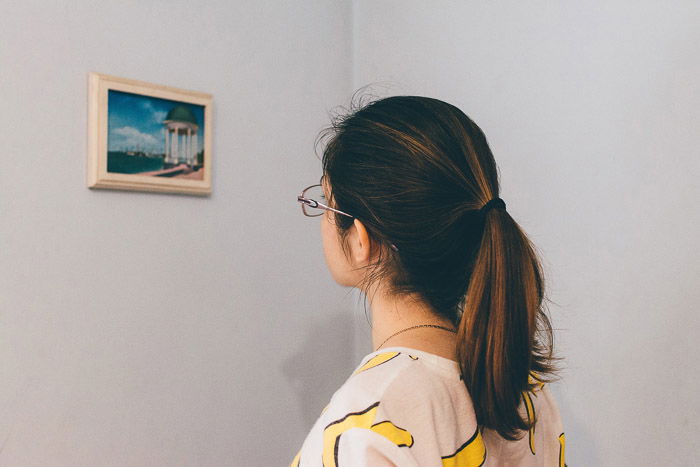
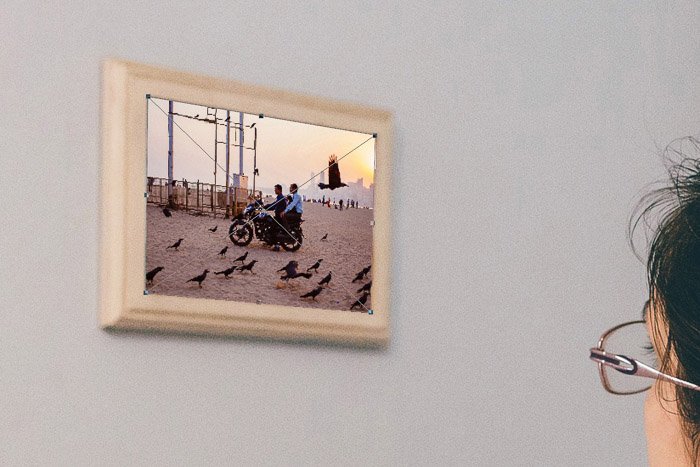
There are several ways to create smart objects and a lot of ways to use them. These are some basic operations to start with. I’ll make everything clear with an example. I’m going to replace the photo inside the frame on the wall of this image. I’m going to replace it with a photo I took in Bombay, India. To practice, you can use the same image of the girl and frame and replace the photo with one of your own.
Create and Transform a Smart Object
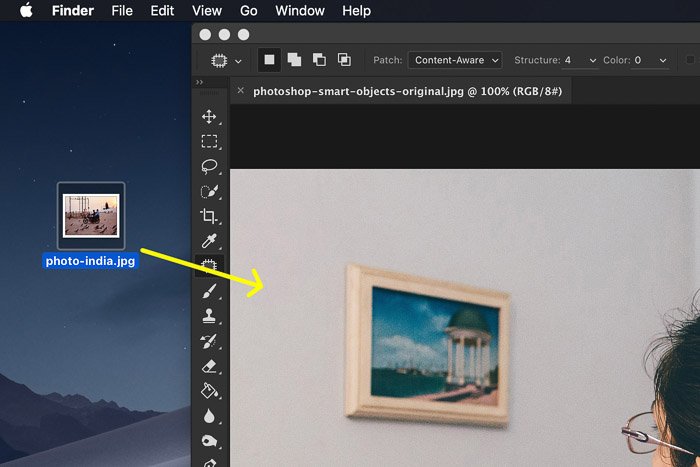
The easiest way to create a Smart object is to drag and drop an image file on the art board.
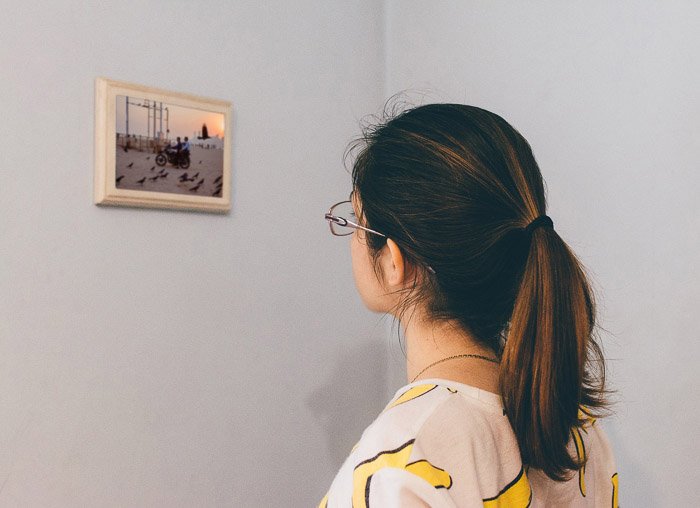
Step 1: Open the Background Photo
Open the photo of the girl looking at the frame.
Step 2: Drag and Drop
Now, locate the photo you want to put into the frame. You can use any image file but for this example, I want you to pick a jpg file so we can later replace it with a different type of file. I’ll show you how to do this later. Drag your photo onto the art board. When you drop it, Photoshop will automatically convert your photo into a Smart Object while placing it in a new layer.
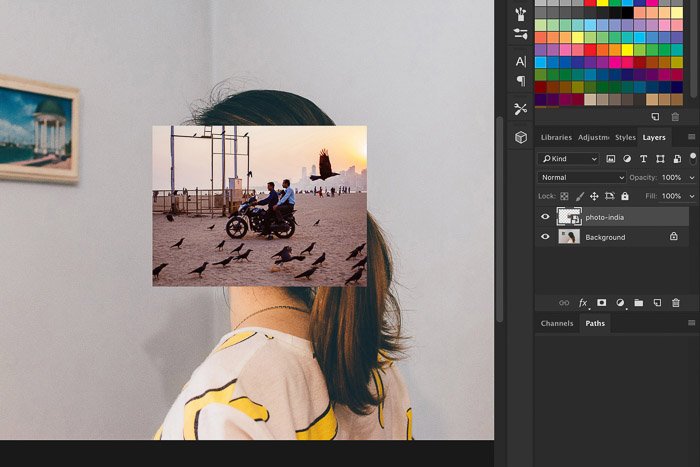
Step 3: Resize
The photo is too big to fit the frame of the picture, so we have to resize it first. Use shortcut Cmd + T (Ctrl + T for Windows) to resize it. Remember, it doesn’t have to be exact. You can always resize again without losing quality. It doesn’t affect the file behind the Smart Object. Hold Shift while you resize so it doesn’t affect the aspect ratio of the image. Move the image over the frame. Double click on the image to confirm the transformation.
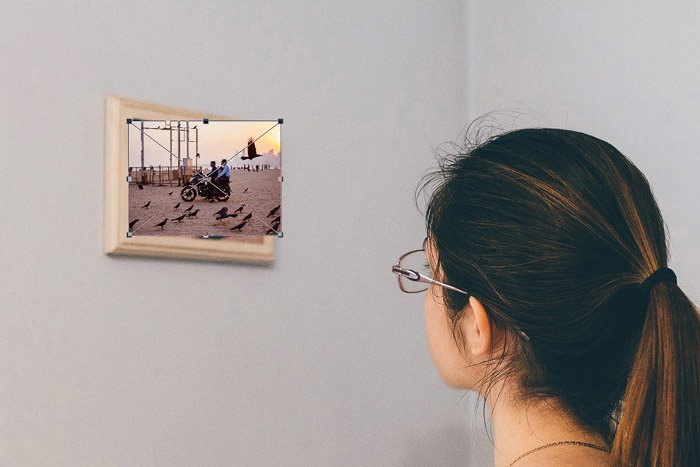
Step 4: Transform
The last thing we have to do to make the new photo fit in the frame naturally, is to change the perspective. Go to Edit > Transform and select ‘Distort’. Zoom in and drag the corners of the Smart Object to make it fit in the frame. Double click to confirm.
Edit a Smart Object in Photoshop
That was easy. But now we’re going to see the real advantage of Smart Objects in Photoshop. The result doesn’t look natural yet. The brightness and overall look of the photo don’t match. We need to apply a Smart Filter and edit the image behind the Smart Object to fix this.
Apply Smart Filters
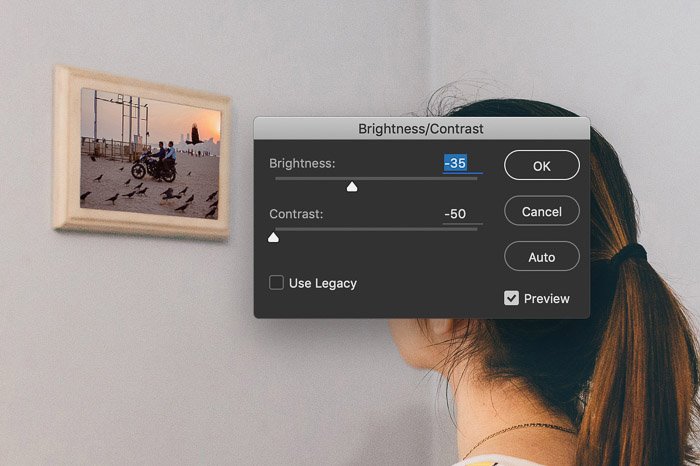
In my case, the photo is too bright and needs blur to look natural.
Step 1: Brightness
Make sure to select the Smart Object layer. Go to Image > Adjustments and select ‘Brightness/Contrast…’ Then drag the sliders until it looks natural.
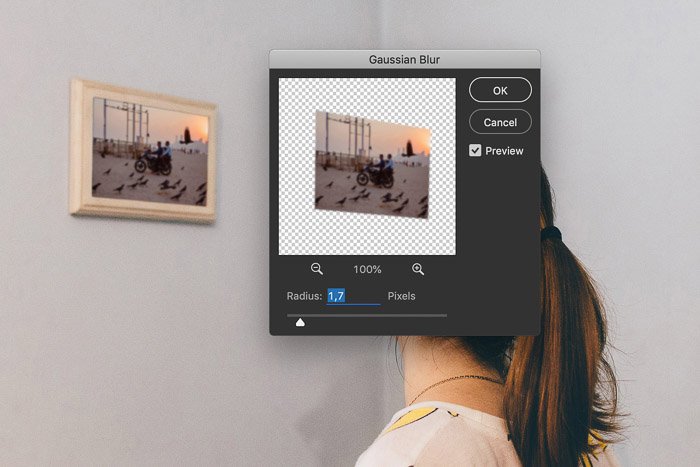
Step 2: Blur
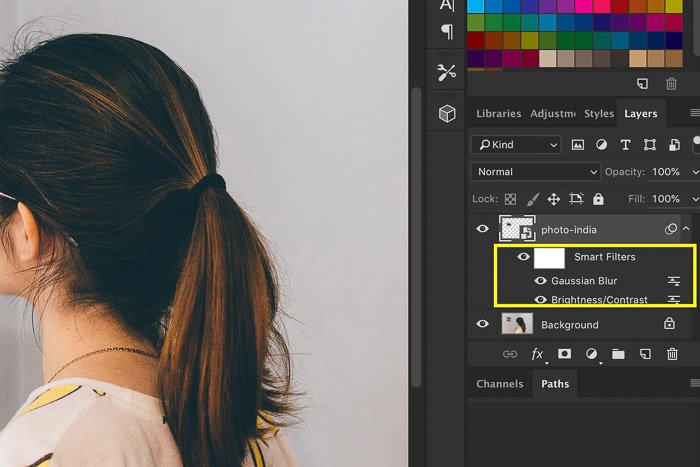
Go to Filter > Blur and select ‘Gaussian Blur…’ Drag the slider to add blur. Here’s the result.
Step 3: Edit Smart Filters
If you change your mind you can still edit all the filters you’ve applied. You can see the filters you’ve applied in the Layers panel. Simply double click on any of the filters to change the settings. If you would’ve used a filter on a regular layer, you’d have to undo and reapply that filter.
Edit the Content of Your Smart Object
Let’s make it interesting now. Let’s say I want to remove an object from the photo I used as a Smart Object.
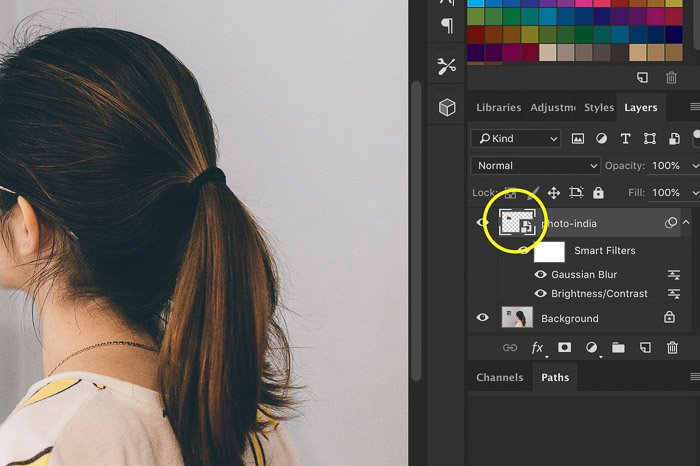
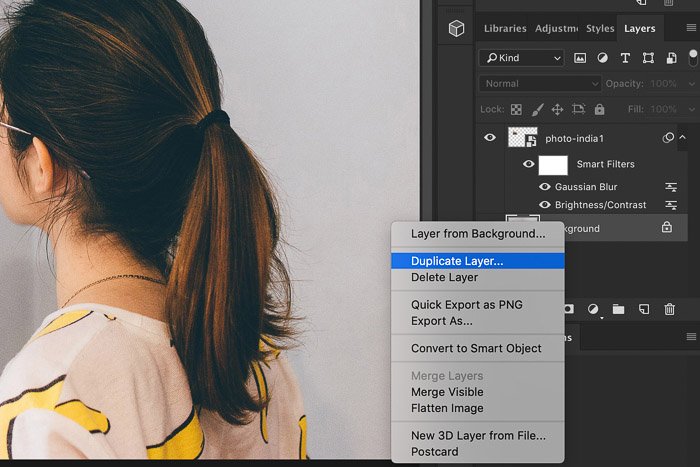
Step 1: Open Smart Object
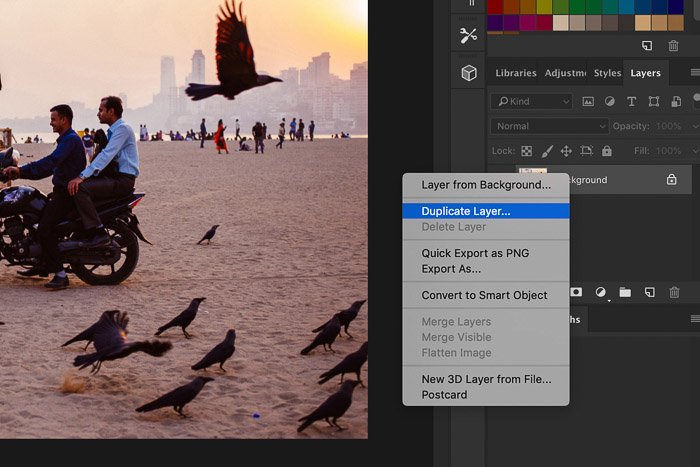
Double click on the Smart Object thumbnail in the Layers panel. The photo behind the Smart Object will open. Right click on the background layer and select ‘Duplicate Layer…’ You can now edit anything you want on the new layer. I’ll remove one of the black birds with the Clone Stamp tool.
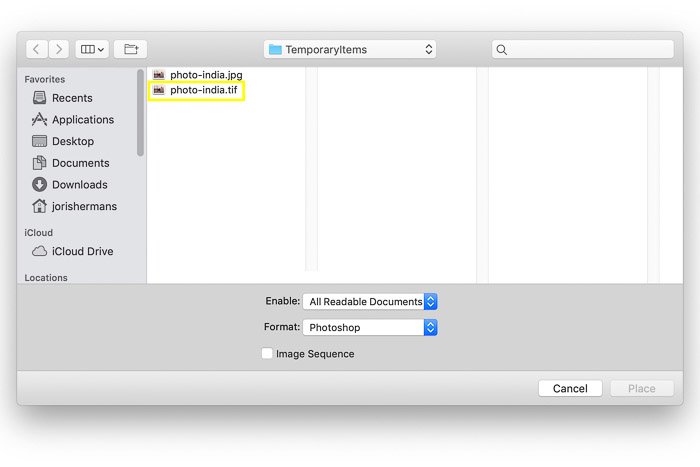
Step 2: Save
Remember when I told you to use a jpg file for this example? Since we’ve created a new layer, we can’t save this file as a jpg anymore. We have to save the photo as a file that supports layers. Save the file as a .tiff and close it.
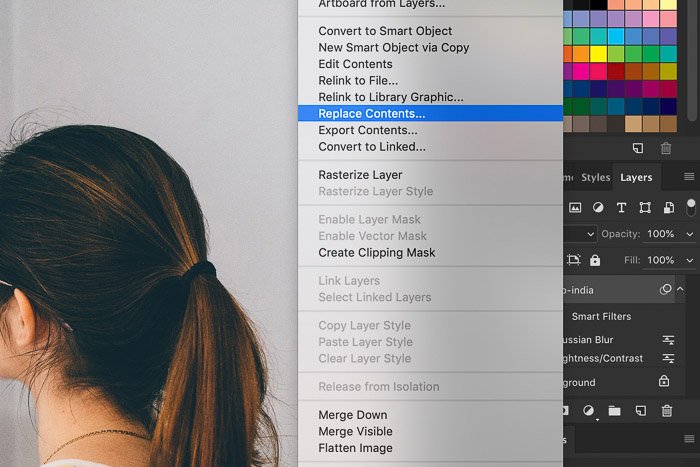
search Content
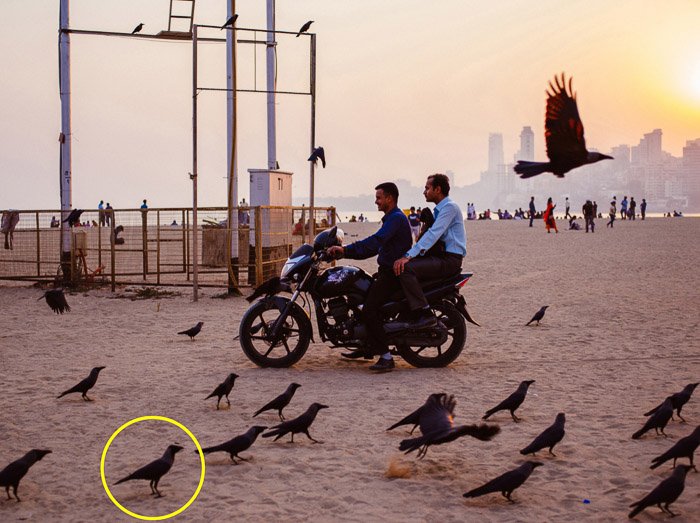
Had we flattened the file and overwritten the same jpg, we would already see the result. Because we changed the type of file, we now need to replace the content of our Smart Object with the new tiff file. Right click on the smart object and select ‘search Contents…’. Locate the tiff file and use it to replace the content of the Smart Object. The edited tiff file will appear in the frame. The bird is gone. You can edit anything you want and save the tiff file to see the result. Let’s try to remove some more birds.
Step 1: Double Click
Double click on the smart object thumbnail again. The tiff file will open. Use the Clone Stamp tool to remove objects and save. You can also apply other operations.
Step 2: Save
Save and close the file when you’re ready. The result will appear in the frame instantly.
Create a New Smart Object in the Layers Panel
Finally, you can also create a Smart Object from within the Layers panel.
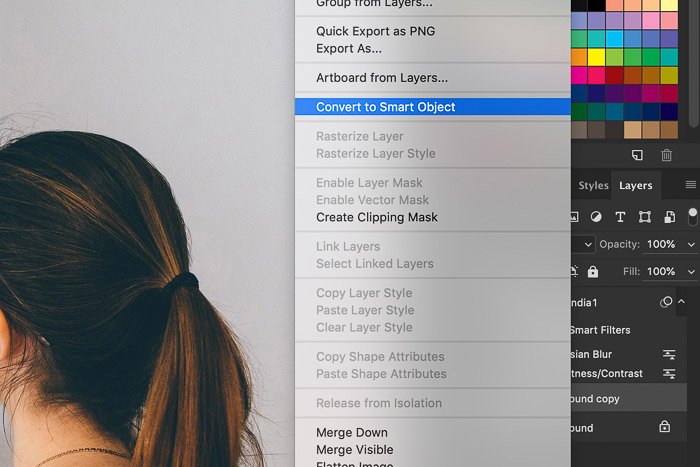
Step 1: Duplicate
Right click on the background layer and select ‘Duplicate Layer…’.
Step 2: Create Smart Object
Right click on the new layer and select ‘Convert to Smart Object’. Now you can use this new layer as a Smart Object within your Photoshop file. It’s not linked to any other file outside Photoshop.
Conclusion
This example showed you the possibilities of Smart Objects in a nutshell. Combine Smart Objects with Layers for advanced nondestructive editing in Photoshop. Once you master both, a lot of tasks will get a lot easier. The best way is to learn how to work with Layers first and then move on to Smart Objects. Looking for more great Photoshop tutorials? Check out our posts on using color modes or how to install Photoshop actions next!