One simple way to dive into the world of portrait lighting is to learn the butterfly lighting setup. It is easy to set up, simple to understand, and the flattering results will make both you and your subject happy! [ExpertPhotography is supported by readers. Product links on ExpertPhotography are referral links. If you use one of these and buy something, we make a little bit of money. Need more info? See how it all works here.]
What Is Butterfly Lighting Used For?
The Basics of Butterfly Lighting
The essence of butterfly lighting is the lighting setup. In this setup, the light is placed directly in front of the subject, right behind the camera. It is about one foot above the subject’s face to create a slight shadow under the nose. The lighting is soft on the face. It forms a butterfly-shaped shadow under the subject’s nose, which is the source of the name. It is ideal for portraits as it highlights the subject’s main features, like the nose and cheekbones. It creates a shadow under the subject’s nose and chin. These shadows make the subject look slimmer. The soft lighting pattern casts a feminine effect on the subject’s face. So, it is most often used for portraits of women. As we can see, butterfly lighting flatters the face. Therefore, it is commonly used in glamour, fashion, and high-end portrait photography. Butterfly lighting is also sometimes known as paramount lighting. This is because it was one of Paramount Studio’s favourite lighting setups in old Hollywood. Let’s walk through what you need for the butterfly lighting method.
What Equipment Do You Need for Butterfly Lighting?
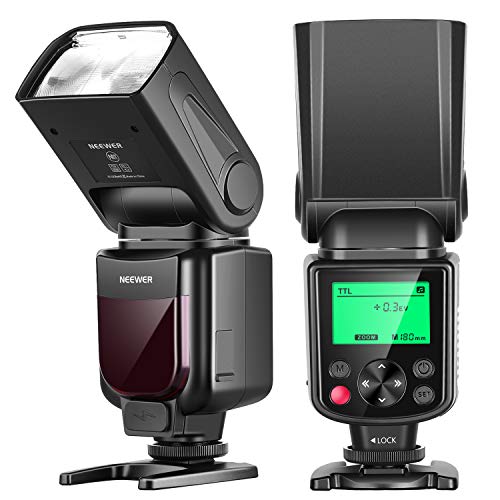
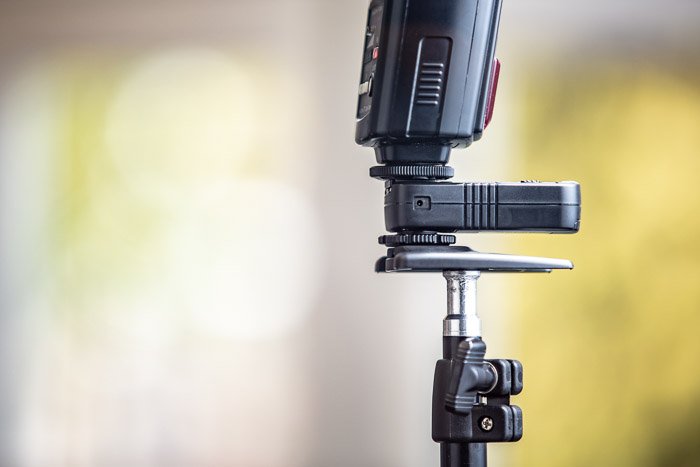
Off-Camera Flash and Triggers
One of the best things about the butterfly lighting setup is its simplicity. You need very little gear to pull it off. The least you’ll need is one off-camera flash and a set of triggers. I use the Canon 430ex II off-camera flash, and this set of triggers from PocketWizard. The triggers are a pair of devices that you can use to wirelessly set the flash off. One piece goes on your camera’s hot shoe. The other goes at the base of your flash unit. This lets you position the flash anywhere you need it so that you can get the lighting effect you want. To have the flash in the right position for butterfly lighting, you’ll need an assistant to help hold it. Or you’ll need to put your flash on a stand. But make sure the stand is sturdy enough and will not tip. Often, grabbing a willing family member to help hold it does the trick! One final note about the flash and triggers is to make sure that the flash unit you have is compatible with your camera model. The same goes for the triggers you buy. They need to be compatible with both your flash unit and camera model. Triggers often will not work well with off-brand flashes. Be sure to read the specifications before purchasing to ensure there is no problem with the butterfly light setup.
Reflectors
Adding a reflector into your butterfly lighting setup is a great way to add light and soften harsh shadows. There are basic reflectors on the market that are very inexpensive. I recommend looking for one that is double-sided. This means each side is a different finish. Often one side is white and the other is metallic. This gives you options in case you want to play with warmer or cooler tones. You can also experiment before committing to buying a reflector. A simple white piece of poster board will do the trick! Another great idea is to grab a large piece of cardboard and wrap it in aluminum foil so that it reflects. Now you have a silver reflector! With the reflector, you can have someone help to hold it. Or, if the subject’s arms and hands are not in the image, the subjects themselves can hold the reflector underneath them if needed.
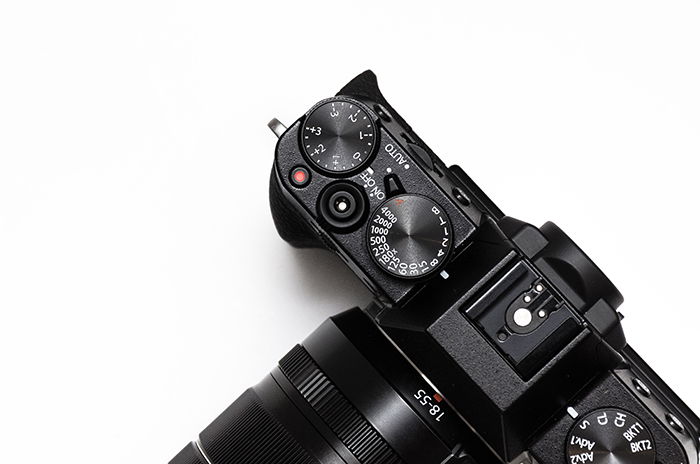
Camera and Lenses
Finally, let’s talk about the necessary camera and lenses. There’s no specific lens you need for butterfly lighting setups, so any lens that you would use for portraits works well. This means you should not use any lens that is wider than a 50mm. This is because lens distortion becomes noticeable once you shoot too wide. When you are taking a photograph of a subject, rather than a distant landscape, the distortion becomes more noticeable. But what if you have a telephoto lens like a 70-200mm? This lens can work for portraits. But, you will want to make sure that the space you are using for this setup allows you to move back and focus.
How to Set up Butterfly Lighting
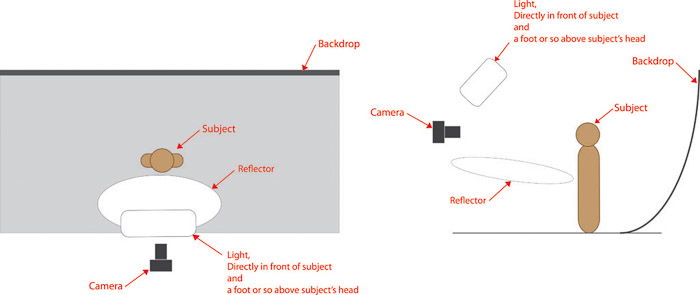
First, you will want to position your subject directly in front of the camera. You can turn them slightly for a bit of added interest. But be careful not to turn them so much that their nose creates a shadow on the cheekbone. Your one and only light should be aligned with the subject. In an ideal situation, this is several feet in front of the subject, and a foot or so above their head. You should position the reflector a foot or so below the subject’s face. Angle it so shadows are softened. But, make sure that the reflector is far enough away from the subject’s face. The shadows should be slightly filled in, but not too bright. You want to avoid losing that butterfly-shaded shadow under their nose. That is the signature of these lighting setups. The diagram below shows this basic setup in both plan view and from the side.
Butterfly lighting is that simple! While it is a basic setup, you will still need to experiment before you become fully comfortable with it. Try using your family and friends as test subjects before taking this method to a paid photo shoot. It is important to remember that you can adjust the power of the flash, not only its positioning. This allows you to control the intensity and direction of the light.
How to Add Interest to Your Butterfly Lighting Portraits
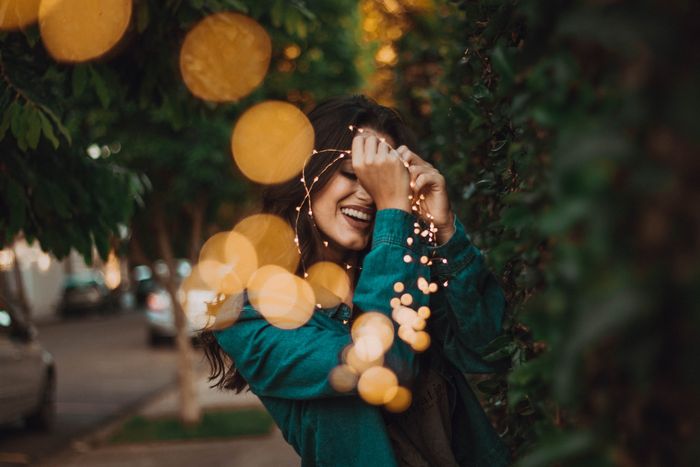
Once you have the butterfly lighting setup, you can experiment with the rest of the elements in the portrait. For example, you can add fairy lights like in the image below. Have the subject hold the fairy lights to create a cool bokeh effect. Or, hang the fairy lights in the background to create a dreamy look.
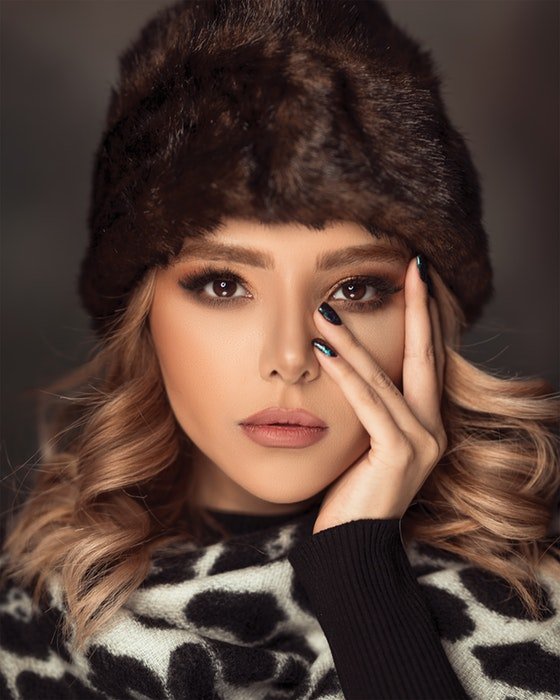
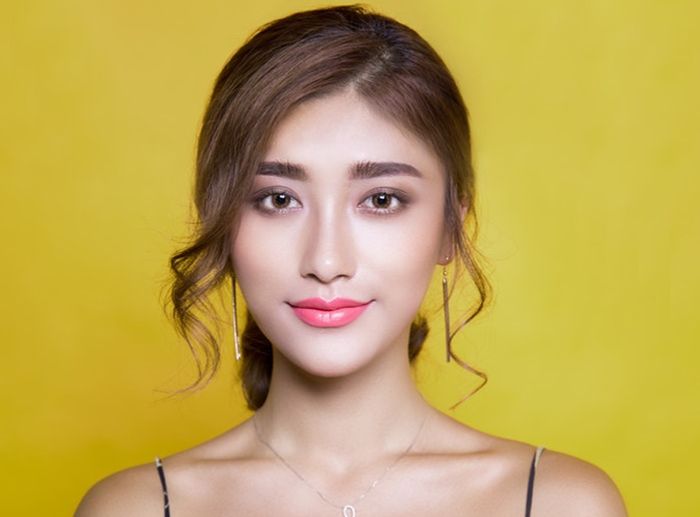
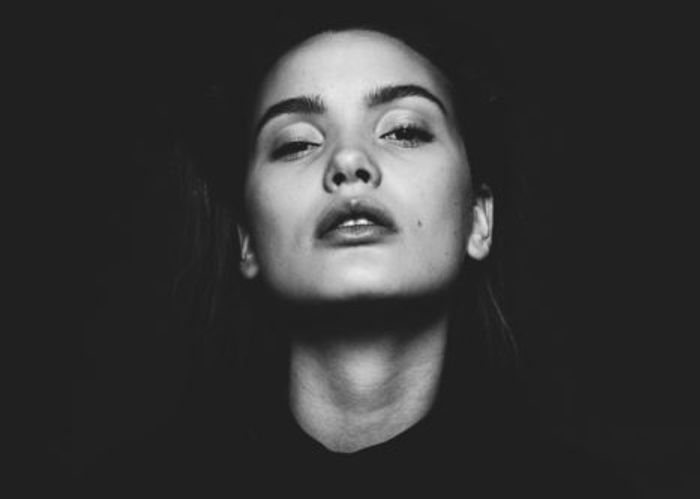
Play with the angle of the subject’s face. In the image below, the butterfly shadow is not created but the lighting setup is the same. The light is still above the subject, just the angle of her face has changed. Because the subject’s face is looking upwards, the shadows on her face are much softer. Alternatively, if she was looking down, the shadows under her nose and chin would be enhanced.
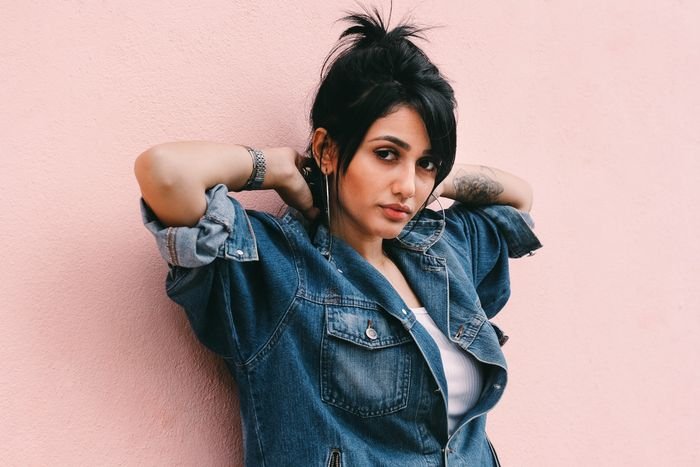
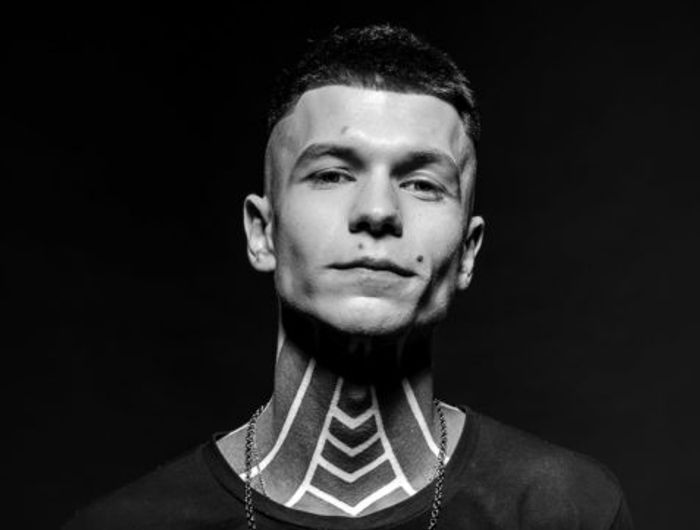
You can also play with harsh butterfly lighting that creates strong contrasts, like in the image below. The black and white edit adds even more to the dramatic tattoo, the harsh shadows, and the subject’s strong jawline. All portraits don’t have to be realistic or professional beauty-shots. You can also experiment with fun, creative portraits. Don’t be afraid to play with interesting ideas and concepts, they might end up to be your favourite shots.
Conclusion
You can use butterfly lighting in a studio or out on a location. Either way, you just need to follow the simple steps above to ensure you will get professional and flattering results every time. All you need is a single light, and a stand or someone to hold it at the right angle for you. And you are ready to begin clicking beautiful portraits! If you want to learn more about portrait photography, check out this amazing article with the top 10 rules for portrait photography! Want to learn more about beginner photography techniques? Check out our course ‘Photography for Beginners’ next!